Advertisement

Filling and Using a Pastry Bag
Appears in
Published 2009
Amateur bakers immediately assume that any dessert requiring a pastry bag is too difficult and just, well, too “professional.” While it’s true that much of the elaborate decorations accomplished with a pastry bag takes some practice, a pastry bag makes certain very basic tasks a lot easier.
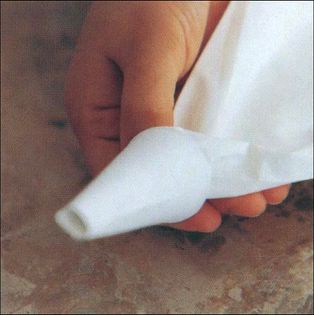
- If the pastry bag is new, slide a tip inside to judge the size of the bag’s opening.
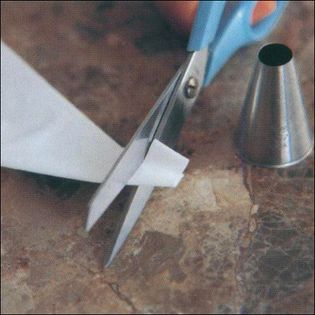
- Cut the end off with a pair of scissors so the tip will stick through about ½ inch. Start by cutting just a little bit; if you cut too much, the bag is ruined, so test the hole with the tip until the cut is just the right size.
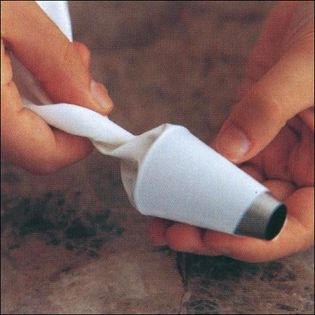
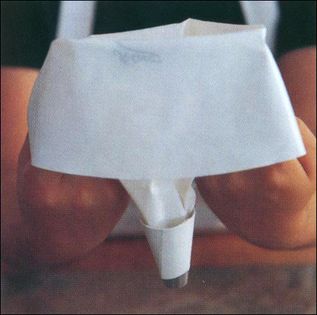
- Push the tip into the end of the bag and twist the bag slightly just behind the tip.
- Push the twist into the back of the tip. This keeps filling from flowing out the tip while you’re filling the bag.
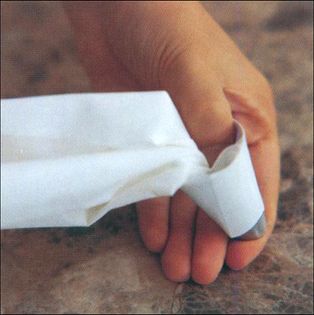
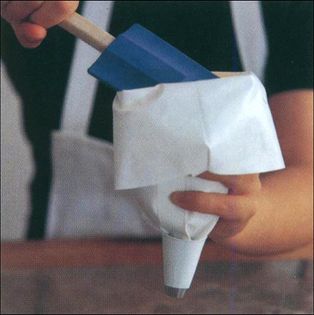
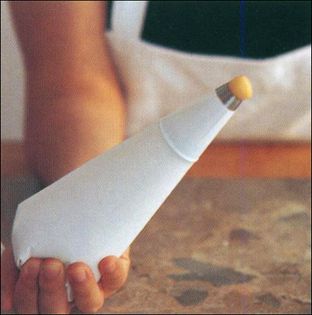
- Fold down the top of the bag to make a sleeve so you can hold the bag with one hand while adding filling with the other.
- Scrape the spatula along the rim of the sleeve to detach the filling. Don’t fill the bag more than two-thirds or it will be hard to handle.
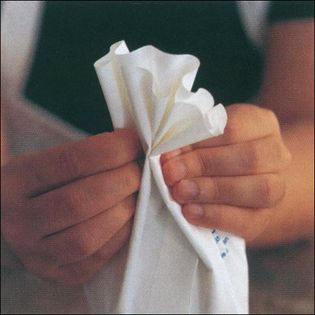
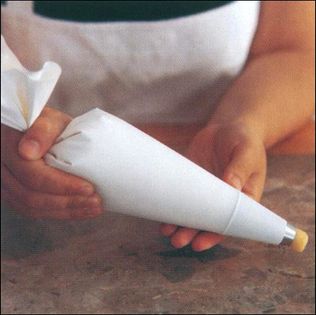
- Unfold the sleeve, and close the end of the bag by bringing the two corners together like an accordion.
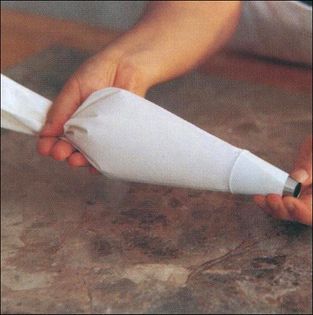
- Slide the folded part of the bag between your thumb and forefinger until the filling is taut. Make sure the bag is taut with filling, not flaccid, or you won’t be able to control the flow while you’re piping.
- Twist the end of the bag to hold in the filling.
- With the bag pointed upward, squeeze the bag to push out any air pockets.
- Control the flow of the filling by squeezing the bag with one hand— use the same hand to pinch the bag between thumb and forefinger to keep the filling in—and pointing the tip with the other.
- If you will be decorating using the pastry bag, and you are not very experienced using it, practice different effects before you start.
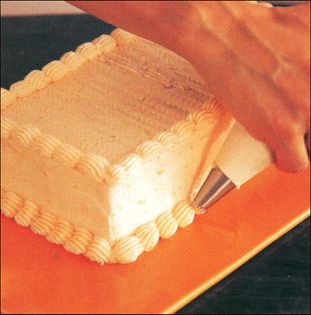
- To pipe wavelike edges as shown here, hold the pastry bag at an angle almost parallel with the cake or surface and squeeze while lifting. Continue in this way, lifting and lowering the bag slightly as you pipe.
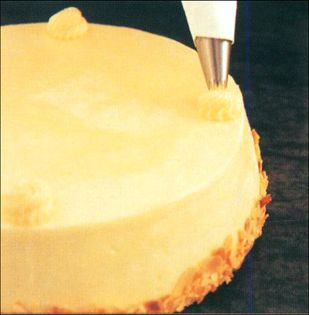
- To make round and separate rosettes, hold the bag vertical to the surface you are decorating, about ½ inch away from the surface. After squeezing out each rosette, move the tip in a counterclockwise direction and quickly lift it away.