Advertisement

Lining a Tin for a Tart or Pie
Appears in

Published 2014
- For a tart tin, once the dough is in the tin, lift the edges and ease the dough into place from the edge inward. Never stretch dough to conform to the shape of the tin, or it will shrink back while baking.
- Press the dough against the bottom of the tin and then gently press with a fingertip into the angle where the side meets the bottom of the tin.
- Gently press the dough against the side of the tin and let the excess hang over the rim of the tin.
- For sweet doughs and cookie doughs, roll over the top of the tin with a rolling pin to remove the excess dough.
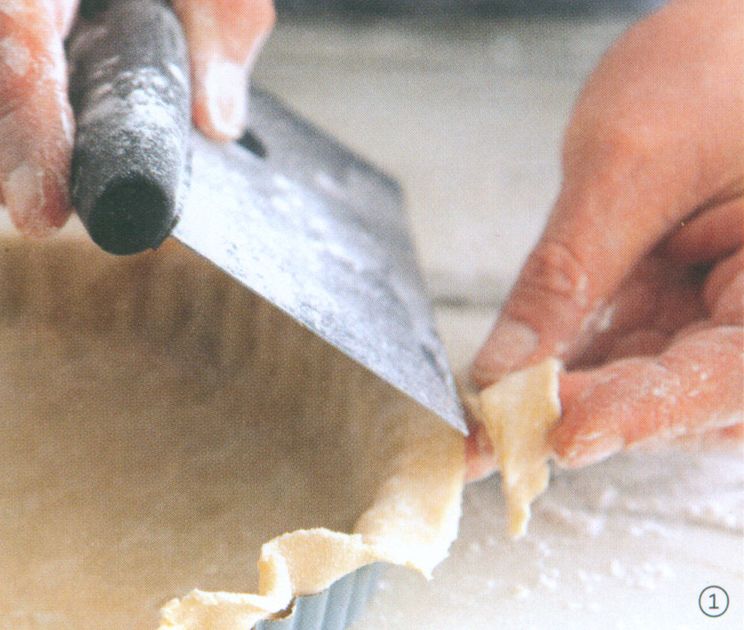
- For flaky doughs, use scissors, a dough scraper, or the back of a paring knife to trim all but 1.25cm of the excess dough
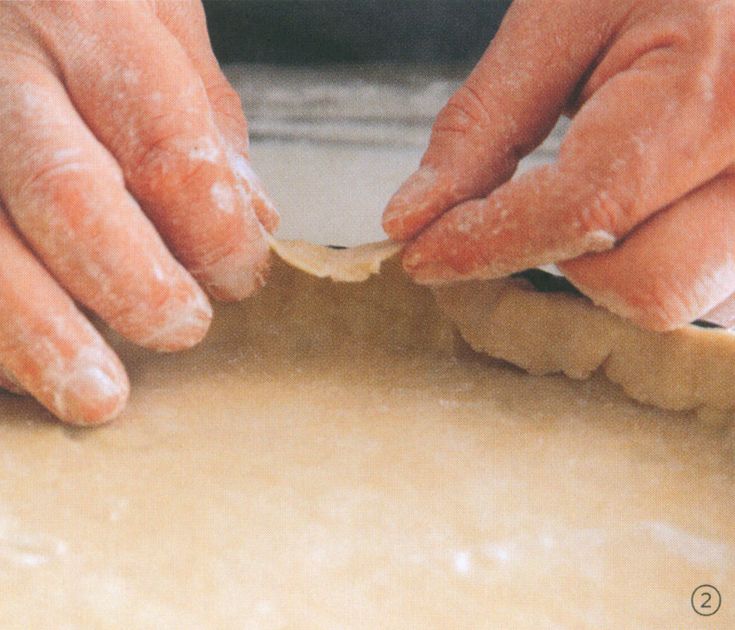
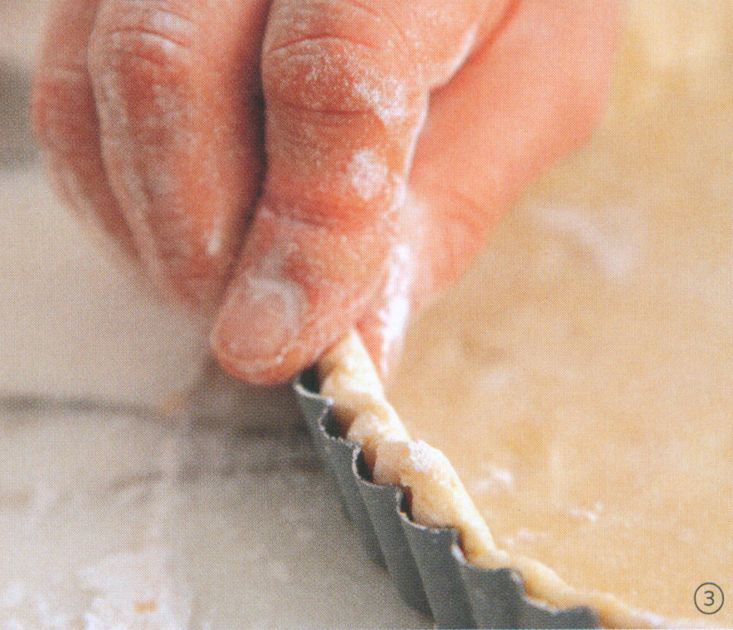
. Fold this dough back into and against the side of the tin to reinforce it and to provide a little extra dough to make up for eventual shrinkage . - If you are making a tart with any type of dough or a pie with a cookie crust, even off the top edge of the crust by pressing it in against the side of the crust with your thumb and down with your index finger at the same time
. - For a pie, unfold the flaky or sweet dough into the tin and press well against the bottom and sides of the tin. If you are making a single-crust pie, see the instructions for finishing the edge. For a double-crusted pie, you do not need to do anything more to the bottom crust; for instructions on forming the top crust.
- Chill the crust until firm. If you’re going to keep it refrigerated for more than a few hours (overnight is best, especially with a flaky dough), wrap the chilled crust in clingfilm.