Advertisement

4. Put the lids on and process the jars
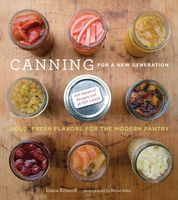
Published 2010
Run the chopstick around the inside of each jar to pop any large-ish bubbles (tiny ones are okay). Dip the paper towel in hot water and use it to wipe the rims and outside threads of the jars clean of any dripped preserves, syrup, or brine—these can prevent a seal from forming between the sealing compound and the jar. Put the flat lids on the jars, white side down, then put the rings on, tightening them just finger-tight—don’t force them at all. (I hold the flat lid down gently with one finger and screw on the rings with the fingertips of my other hand.) You don’t want the rings to be screwed too tight, because the air in the jar needs to escape as the contents are heated in the canning pot. When all the lids and rings are on, use the jar lifter to carefully return the jars to the hot water in the canning pot, making sure they’re standing upright on the rack and not touching one another or the sides of the pot and that the water covers them by at least 1 inch. Turn up the heat, cover the pot, and bring the water in the canning pot to a full boil. Boil for the time indicated in the recipe plus additional time if you live more than 1,000 feet above sea level. Remove the jars to the second, out-of-the-way towel on the countertop to cool. It’s most important that jellies be allowed to cool for 12 hours before the jars are disturbed at all—moving them could break the gel.