Advertisement

Lining a Tart Pan
Appears in

Published 2010
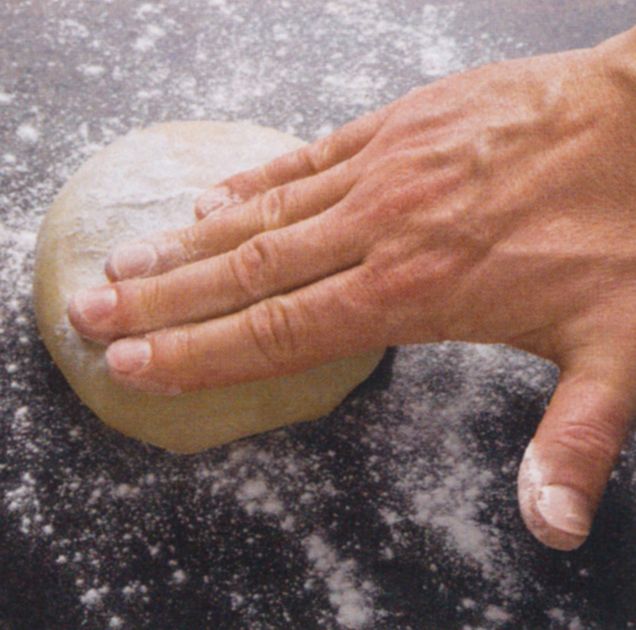
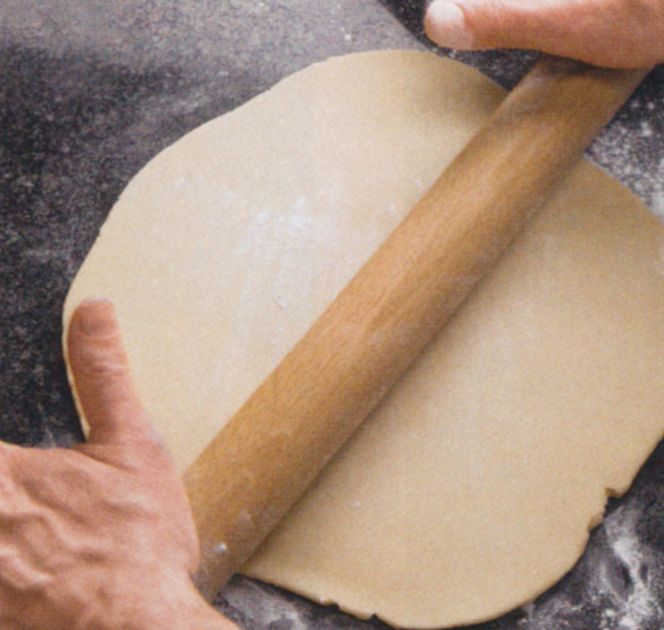
- Flatten the dough on a floured surface.
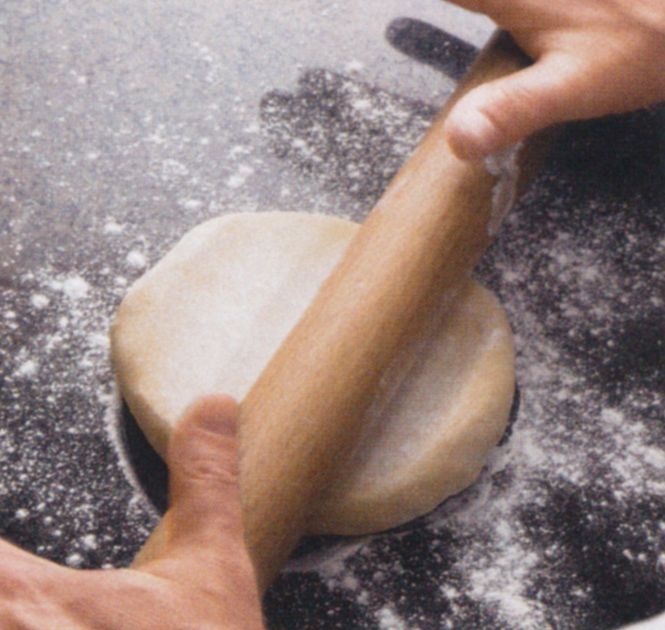
- Begin rolling applying pressure evenly.
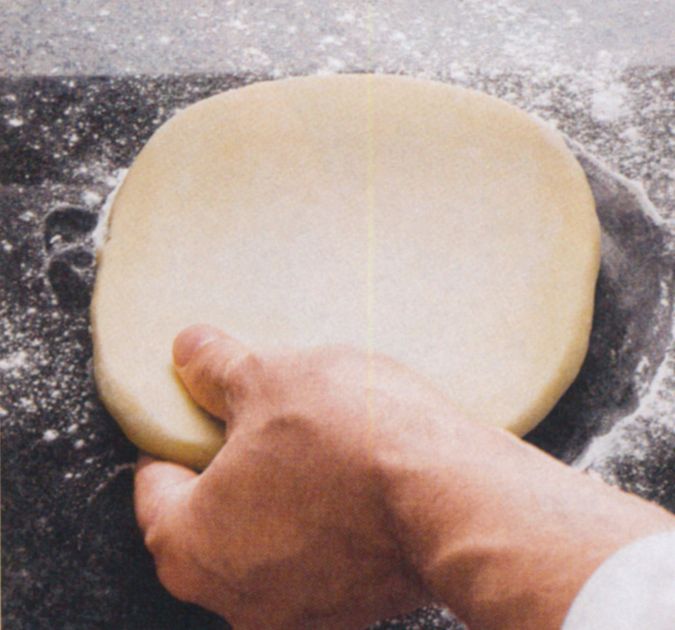
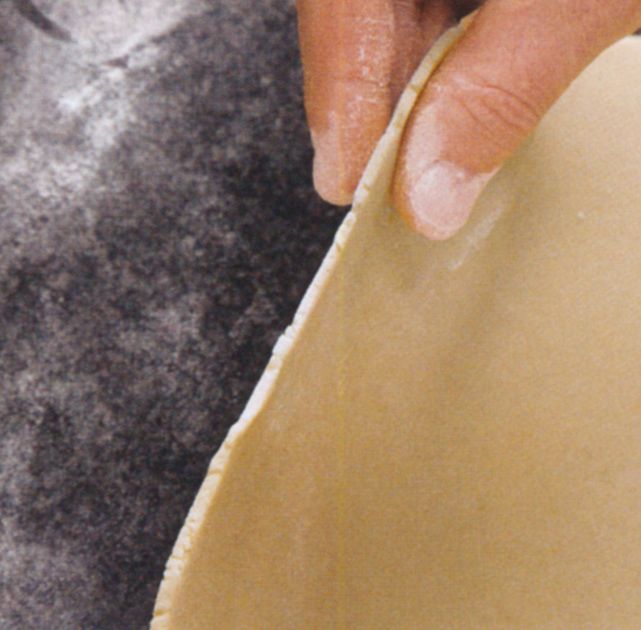
- Lift the dough and give it a quarter turn.
- Continue rolling evenly.
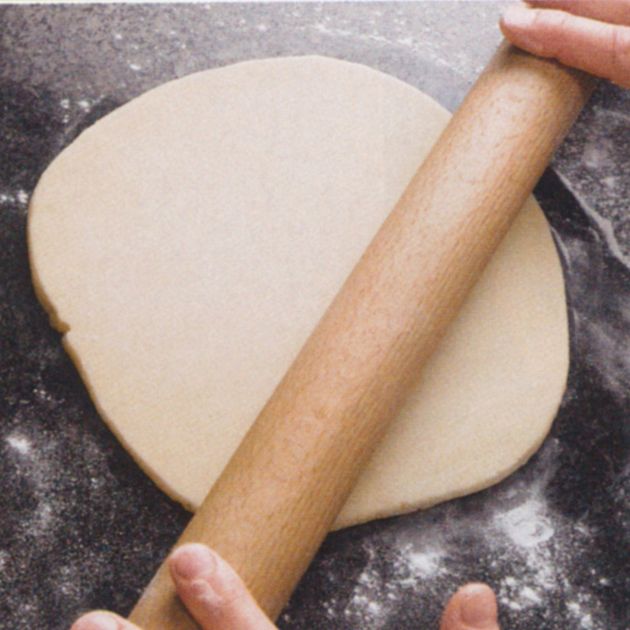
- Continue to give the dough a quarter turn. This ensures an even shape and thickness.
- Roll out to about 2 mm thick.
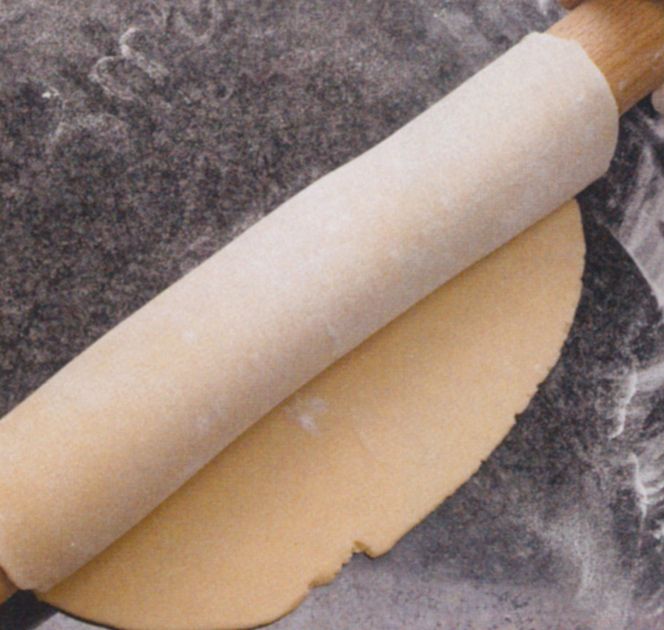
- Roll the dough onto the rolling pin.
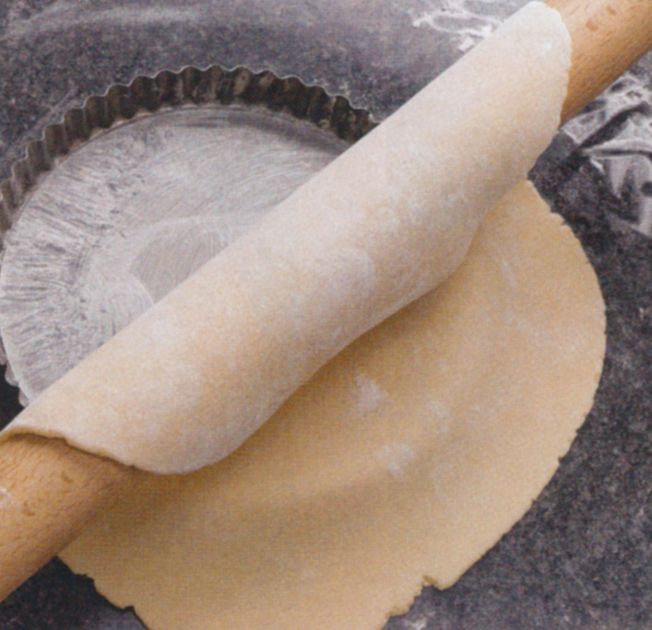
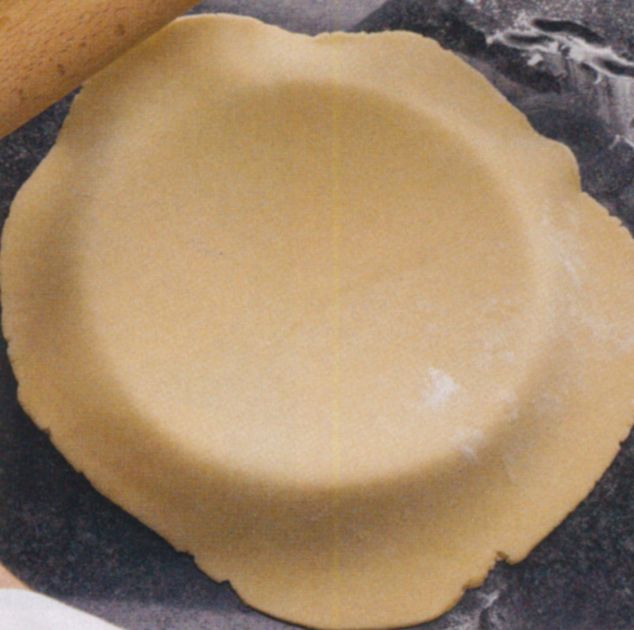
- Gently drape the dough over the buttered mold.
- Ensure that there is at least 1 to 2 inches of dough extending over the edge of the mold.
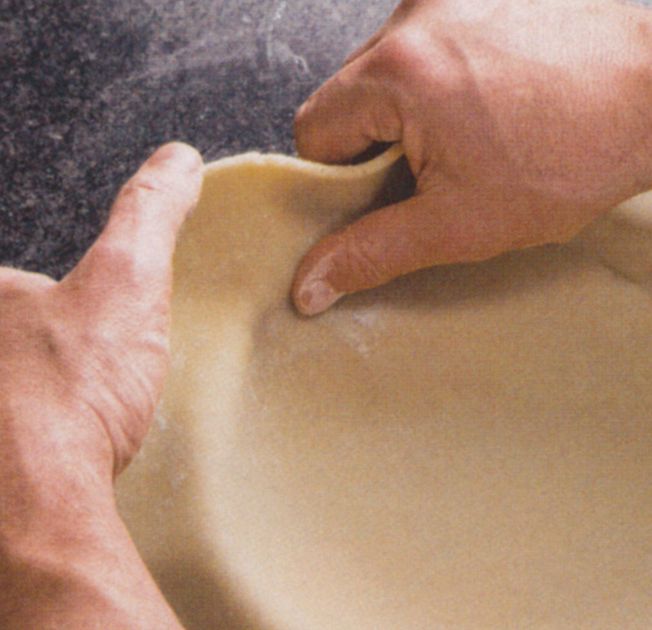
- Lift the dough and lightly press into the corners of the mold.
- Press well to ensure there isn’t any air.
- Lift the dough and make a small fold toward the inner edge.
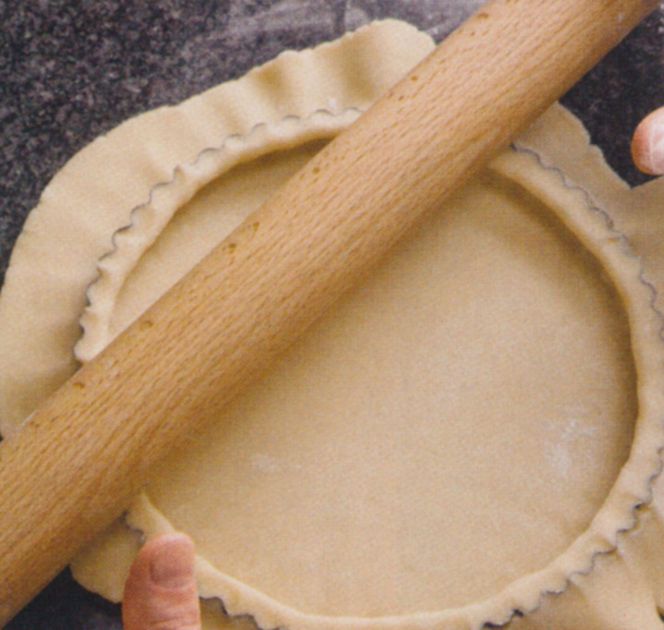
- Roll the rolling pin over to cut any excess dough and reserve the scraps for another use.
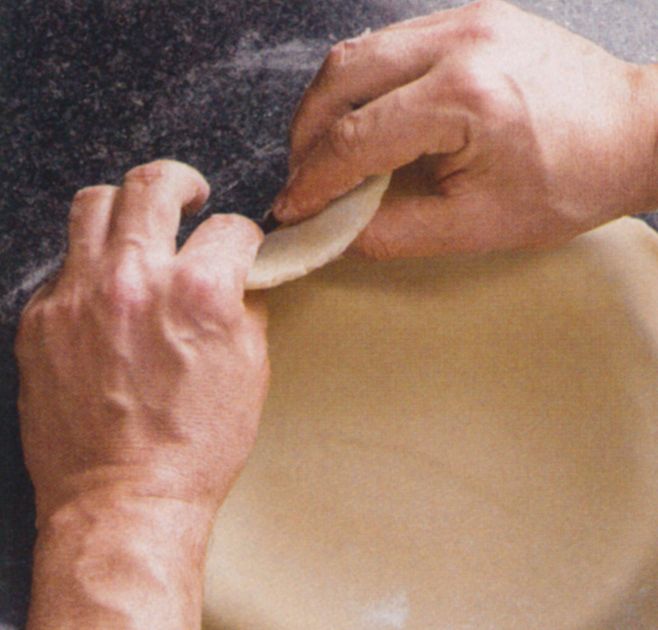
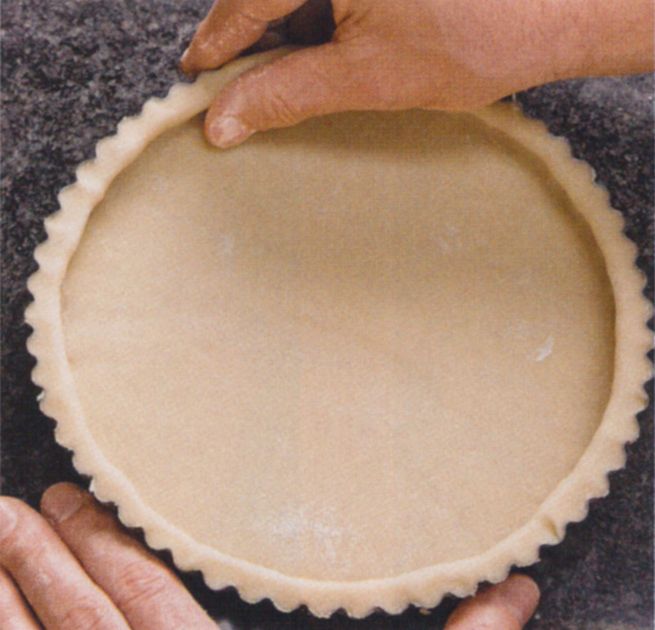
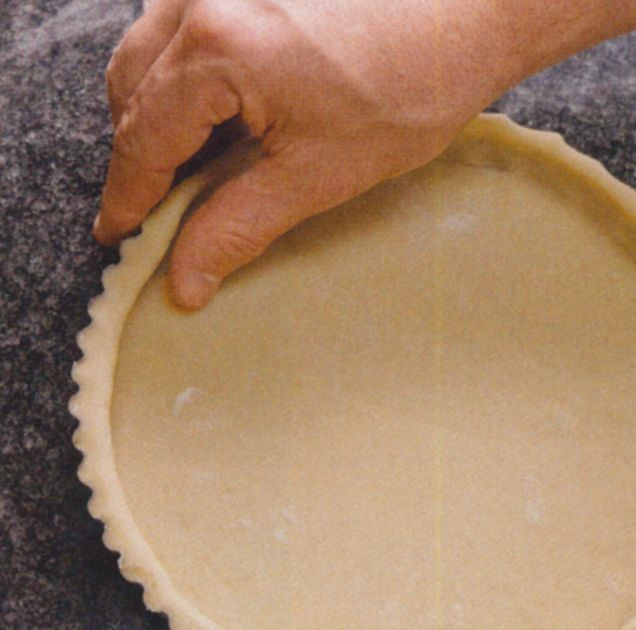
- Pinch the dough between the thumb and forefinger.
- Create a rim that extends about ⅛ inch above the edge of the mold.
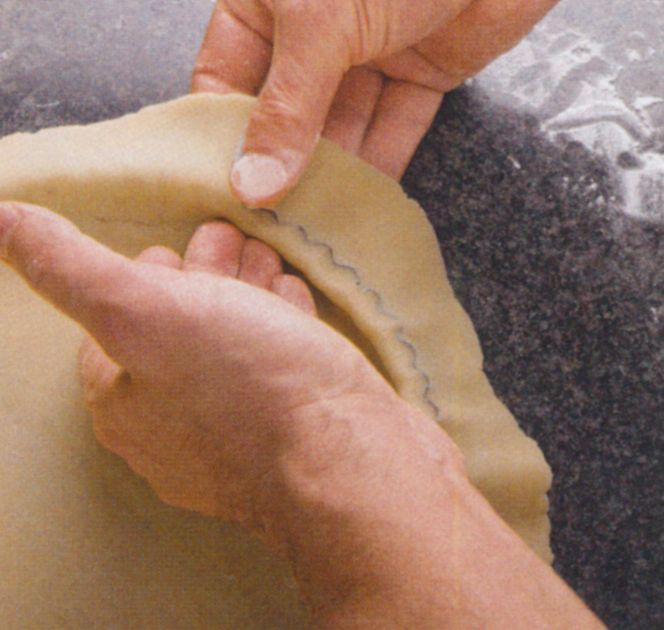
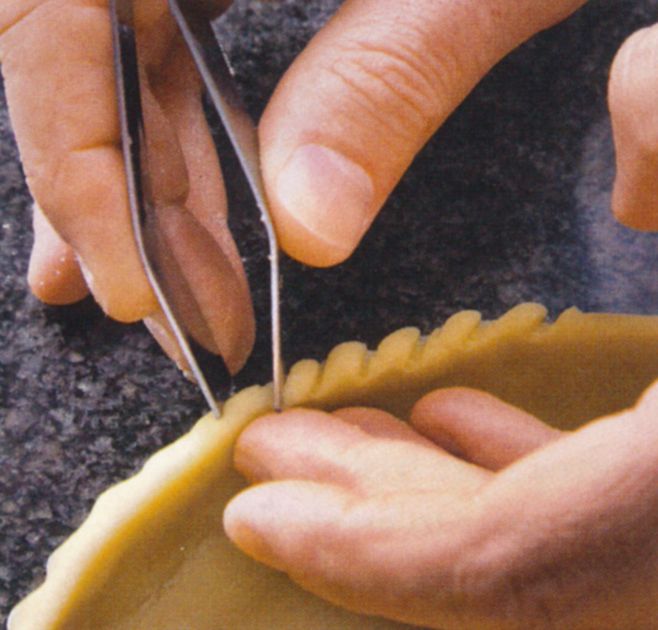
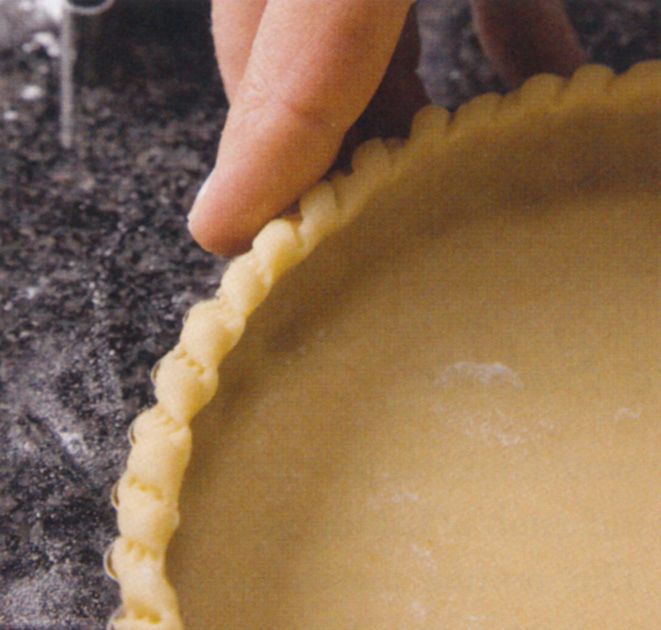
- Supporting the inner edge with one hand, use the pastry tweezers and lightly pinch to form a decorative border.
- Once finished, run a finger around the edge to make sure the border is straight.
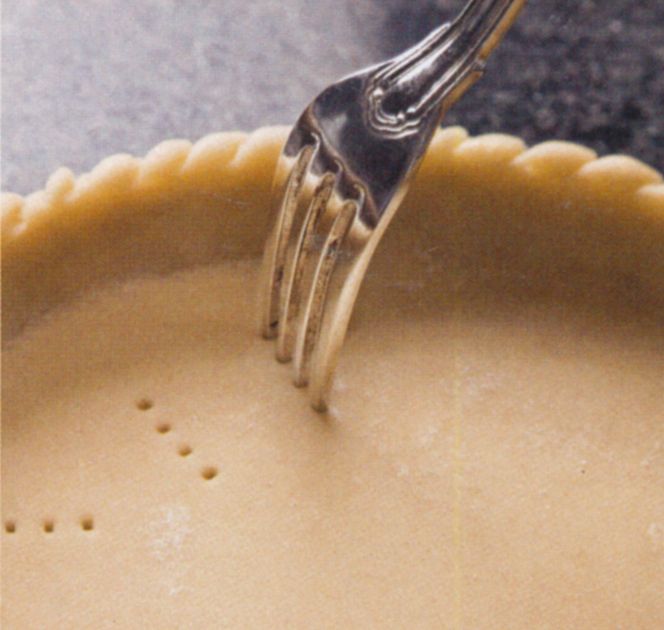
- Prick the bottom with a fork and refrigerate the tart base for at least 30 minutes.
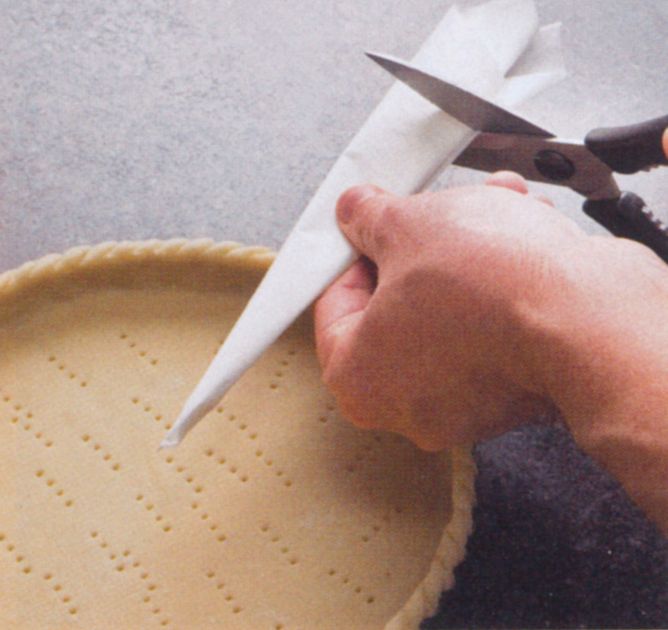
- After resting, remove the tart base and make a cartouche out of parchment paper, measuring from the center of the mold to about 1 inch beyond the edge.
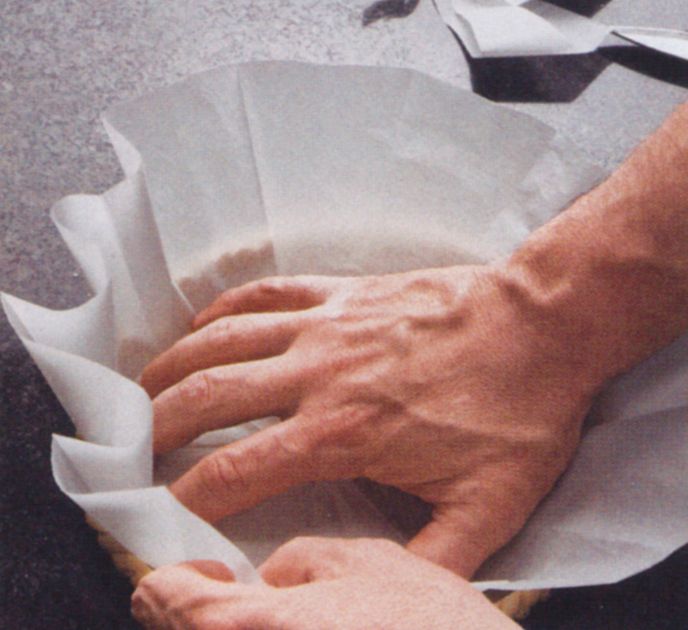
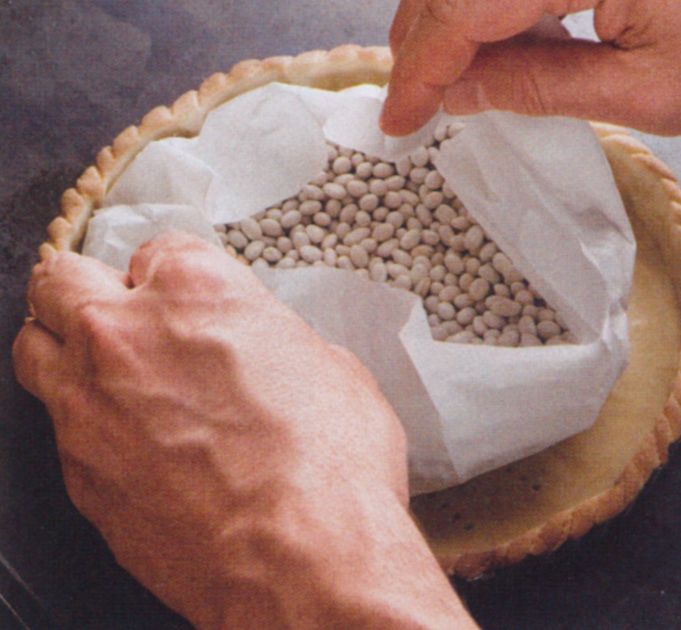
- Unfold the cartouche and press it into the corners of the mold.
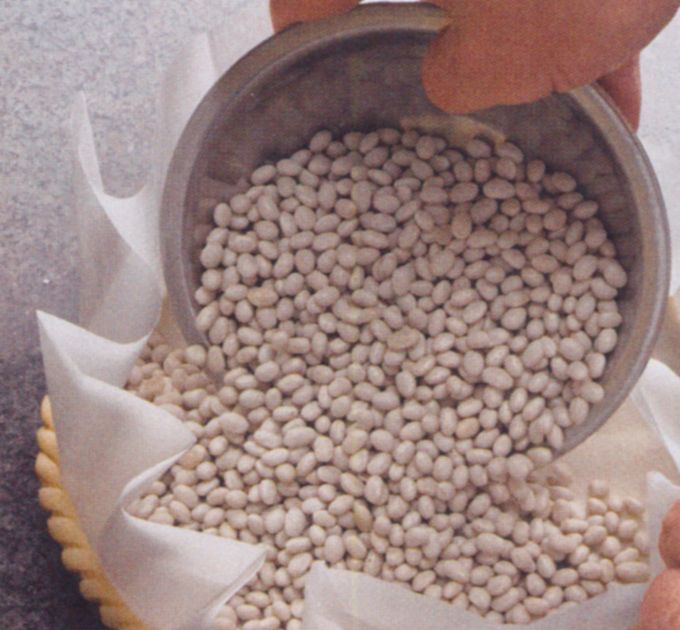
- Fill the mold with baking beads and place in a preheated oven.
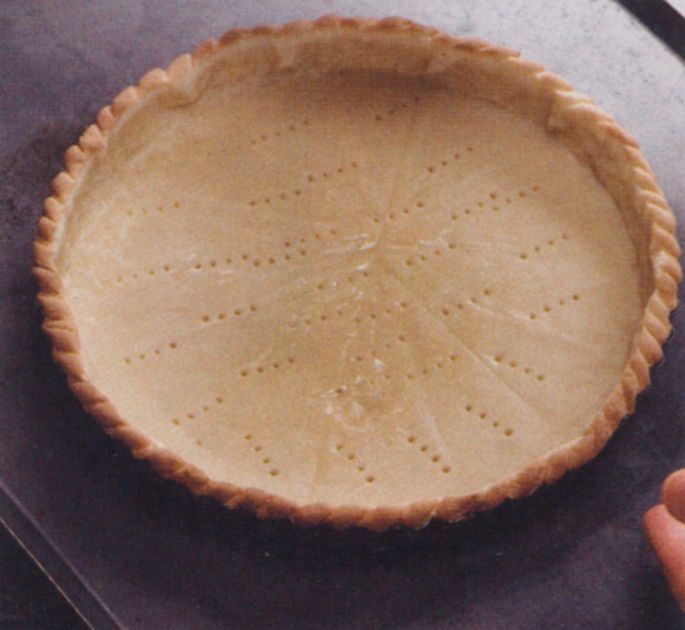
- Once the edges are nicely browned, remove the beads by lifting the paper. Be careful, the beads are hot.
- Prebaked.