Advertisement

Chocolate Cutouts
Squares, Rectangles, Circles, Hearts, and Triangles
Appears in

By Bo Friberg
Published 2003
This is a quick method for creating decorations that can be made up in advance. Use the assorted chocolate shapes to decorate the sides of a cake, or place them at an angle on top. Enhance finished chocolate cutouts with the streaking technique described, applying the same or a different color chocolate for contrast. Chocolate cutouts are smart to have on hand to use as a finishing touch; they can be placed on virtually any dessert to give it a special finesse.
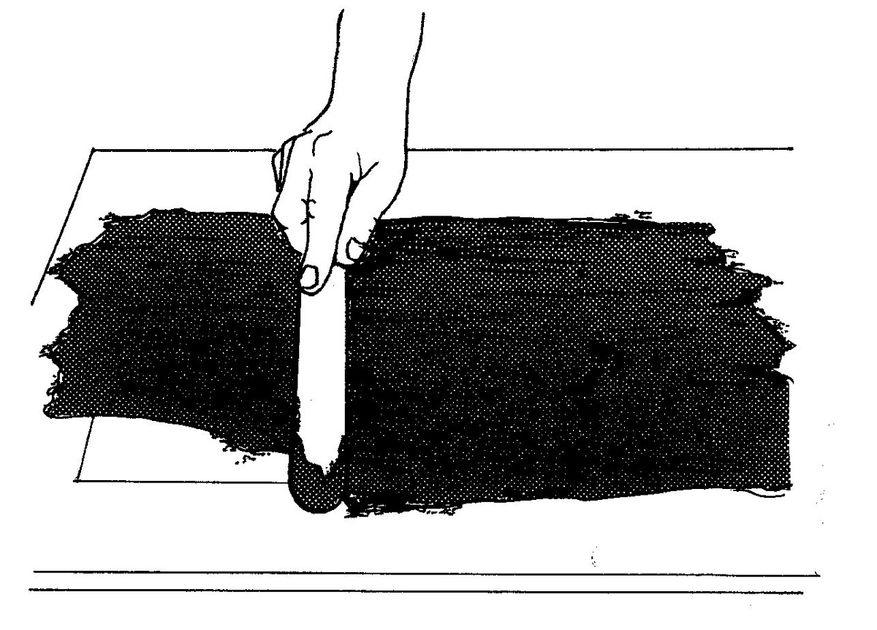
- Place a sheet of baking paper on the table and pour coating or tempered chocolate on top. Using a palette knife, spread it thin (1/16 inch/2 mm) and even (Figure 10-7). Make sure the table around the paper is clean so you do not have to worry about spreading the chocolate beyond the paper onto the table.
Figure 10-7 Spreading a thin coating of melted chocolate over a sheet of baking paper
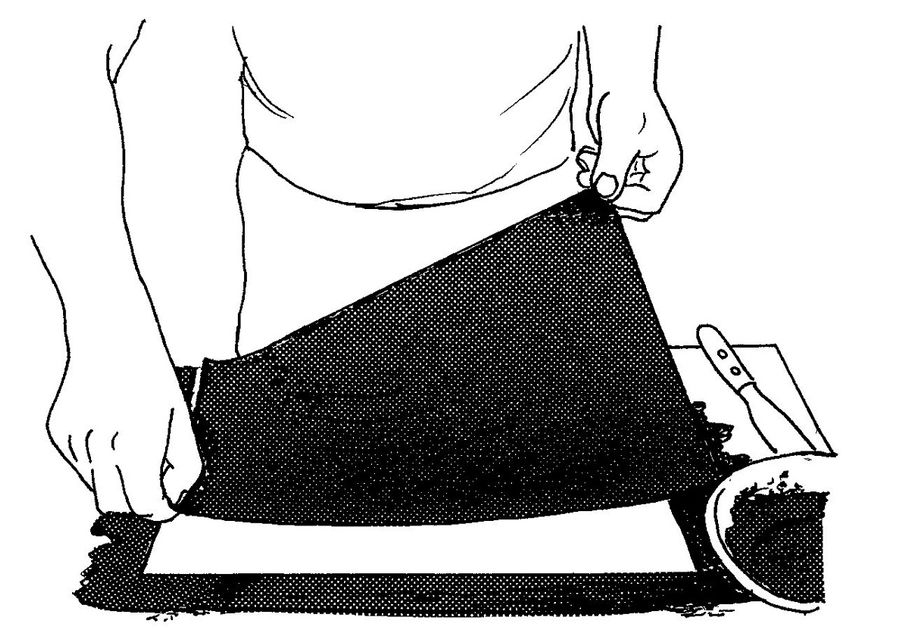
- Immediately pick up the paper by 2 diagonal corners (Figure 10-8) and place it on a cardboard or inverted sheet pan. Allow the chocolate to set partially. Do not refrigerate.
Figure 10-8 Lifting the chocolate-covered paper by two diagonal corners
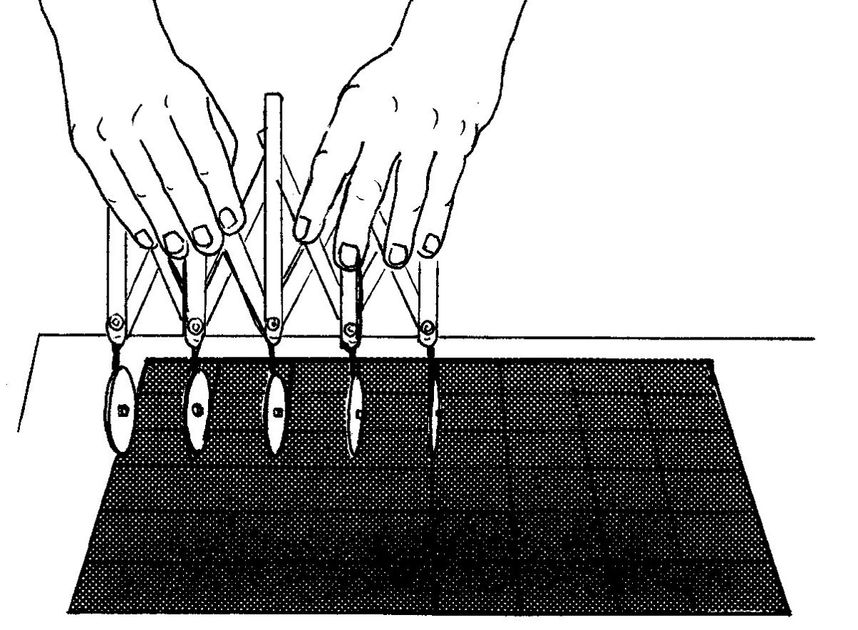
- Using a sharp knife (Figure 10-9) or a multiple pastry wheel (Figure 10-10), cut squares or rectangles. Avoid cutting through the paper. Use cookie cutters to cut out circles, hearts, or other shapes. If necessary, heat the cutter by dipping it in hot water; quickly shake off the water and dry the cutter on a towel before using. You can probably cut 4 or 5 pieces before reheating the cutter. When just a few triangles are needed, use a knife to cut them out from strips.
Figure 10-9 Using a chef’s knife to cut out chocolate squares
Figure 10-10 Using a multiple pastry wheel to cut out chocolate squares
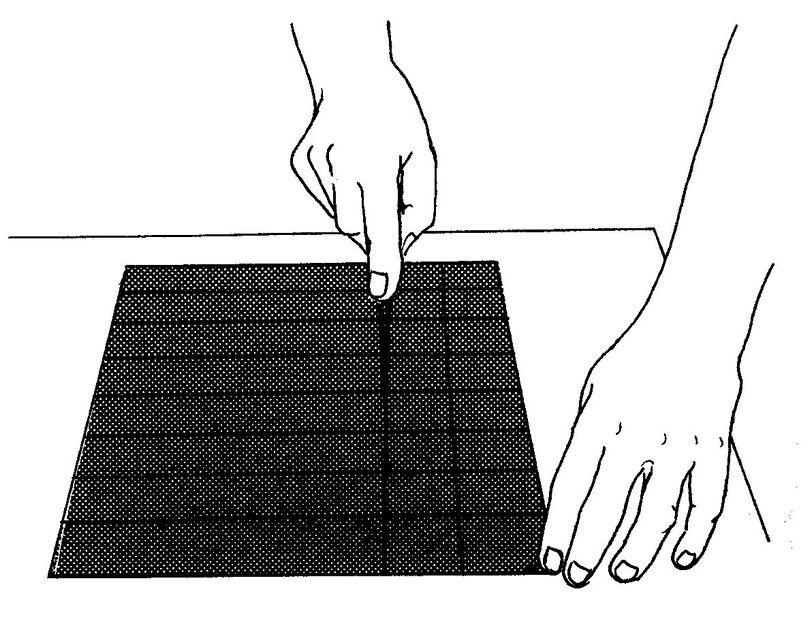
- Store the chocolate cutouts, still attached to the paper, in a dark, cool place. Do not store them in the refrigerator. To use, place one hand underneath and push up gently to separate the decorations from the paper as you lift them off with your other hand (Figure 10-11). This technique is especially helpful when working with large, extra-thin, or unusual shapes.
Figure 10-11 Pressing gently underneath the paper to facilitate removing the hardened Chocolate Cutouts