Advertisement
Yeast Breads
Appears in

By Bo Friberg
Published 1989
Fundamental Procedures in Bread Baking
The preparation and baking of yeast breads can be summarized in 12 basic steps, as follows. Each of these steps is discussed in greater detail following this list.
- Step 1—Selecting the raw ingredients. Because bread doughs are composed of relatively few ingredients, each is significant. Use the best possible flours, grains, and salt (kosher salt is ideal), be certain your yeast is viable, and pay close attention to the temperature of liquids.
- Step 2—Weighing the ingredients. Accuracy of measurement is essential to producing a balanced and workable formula, to creating consistency in quality, and to controlling cost. Digital scales are particularly accurate.
Step 3—Mixing and kneading. The order in which the ingredients are combined and the way they are mixed together influence both the flavor and texture of the baked bread. If these jobs are done improperly, the yeast may be damaged to the point where the bread will not rise. The different objectives for choosing among the sponge, straight-dough, old-dough, and sourdough starter methods are discussed below.
Once all of the ingredients are combined, the gluten in the dough must be developed through kneading. The kneading process also distributes the yeast cells evenly throughout the dough so they are able to receive proper nutrition and expand the dough uniformly.
- Step 4—Fermentation. Yeast fermentation is an ongoing process that begins as soon as the yeast is added to the dough and ends during baking when the bread reaches approximately 145°F(63°C) and the yeast is killed. Either underproofing or over-proofing will have a negative effect on the finished product.
- Step 5—Punching down the dough. When using the straight-dough method, the dough is punched down after it has reached its maximum volume during the proofing/fermentation stage. By flattening the expanded dough and kneading it gently for a few seconds, the yeast cells are redistributed, which allows them to find a new food supply, and the trapped gas is expelled, which equalizes the temperature and prevents the dough from developing a sour flavor.
- Step 6—Portioning. The bread dough must be accurately divided into equal portions for bread loaves or rolls so that the finished pieces will bake uniformly and have a professional appearance. This step must also be completed quickly to prevent the yeast from overreacting and/or the dough from forming a skin. This step should be completed in no more than 20 minutes.
- Step 7—Bench proofing. This resting period allows the gluten in the dough to relax before the dough is formed into a particular shape; 10 to 15 minutes is generally sufficient. The dough should be covered to prevent a skin from forming, and it should be protected from drafts.
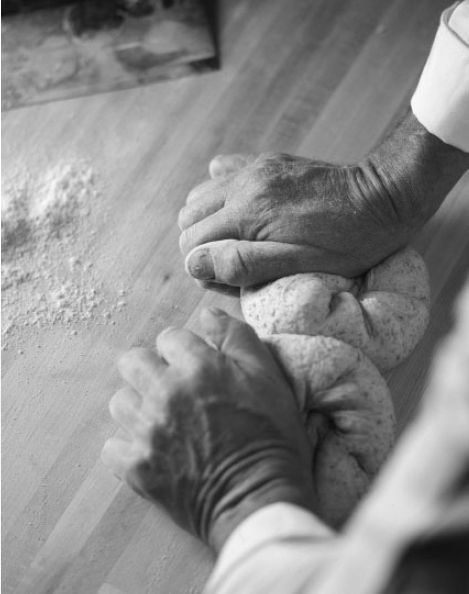
- Step 8—Shaping. In this step, the relaxed, pliable dough is formed into the desired shape for loaves or rolls.
- Step 9—Panning. The dough is placed on or in its baking pan, which may be lined with baking paper, greased with butter or oil, or dusted with cornmeal. If bannetons (special woven baskets) are to be used to form a pattern on the loaves as they rise, the dough is placed in them at this stage.
- Step 10—Final proofing. The dough is left to rise in a warm, humid proof box (or other location) so that it can expand without forming a hard crust on the surface.
- Step 11—Baking. The application of heat at the proper rate transforms the well-risen dough into a pleasant and digestible product.
- Step 12—Cooling. It is essential that the bread be allowed to cool completely before it is sliced or stored.